Autotask Expenses to QuickBooks Online setup
ALERT Support for the QuickBooks Online integration will end on July 1, 2026. To avoid any potential disruption, we strongly recommend transitioning to the Smart Accounting Hub for QuickBooks Online before access to the existing integration is deprecated at a future date. Refer to Smart Accounting Hub for QuickBooks Online for more information.
PERMISSIONS You must have administrative level permissions to QuickBooks Online to correctly download and configure the Autotask to QuickBooks Online components, and access to your QuickBooks Company file.
Autotask Expenses to QuickBooks Online is a stand-alone app that transfers Autotask expense reports to QuickBooks Online as bills.
- The Autotask resource that submitted the expense report becomes a vendor in QuickBooks Online. The app will attempt to match the resource to existing vendors in QuickBooks Online. If no match is found, a new vendor is created.
- Resources' departments can be tracked in QuickBooks Online as QuickBooks classes. Class Tracking must be enabled in QuickBooks Online. QuickBooks Online class names must match to the Autotask departments' Department Number field. For information on enabling QuickBooks Class Tracking, refer to Intuit's QuickBooks Online support documents.
- Expense reports approved within the number of days specified in the Expenses to QuickBooks Online Settings, and with expense totals > 0, are transferred.
- Transfer begins immediately when the app setup is completed. The app scans for eligible expense reports at regular intervals, with actual time dependent on the Intuit AppConnect platform's level of activity. The automatic scan can be paused.
- You can manually transfer one or more individual expense reports. Pausing the automatic sync for multiple manual transfers is recommended, but not required.
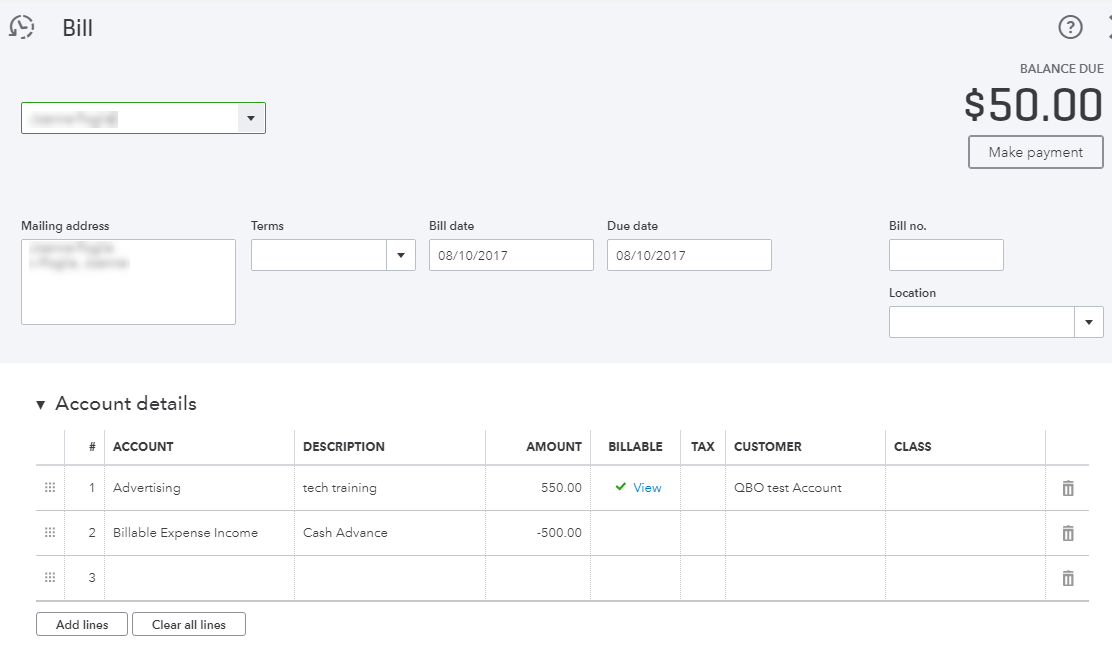
- If an expense item is associated with an organization in Autotask, the app will attempt to match the organization to a customer in QuickBooks Online. If no match is found, a new customer is created in QuickBooks Online. The customer is listed with the line item on the bill, in the "Customer" column.
- If the expense report includes a cash advance > 0, it is transferred and appears on the bill as an offset.
NOTE The transfer of non-reimbursable expenses is not supported!
Before you begin...
IMPORTANT Please review the information in START HERE: Before you configure a QuickBooks Online Integration app.
How to...
- To access the app setup page, use the URL provided by Datto when the app was enabled.
Not enabled yet? Refer to 4. Ask Datto to enable Autotask to QuickBooks Online Integration app(s).
- Click Sign In and enter your Intuit credentials.
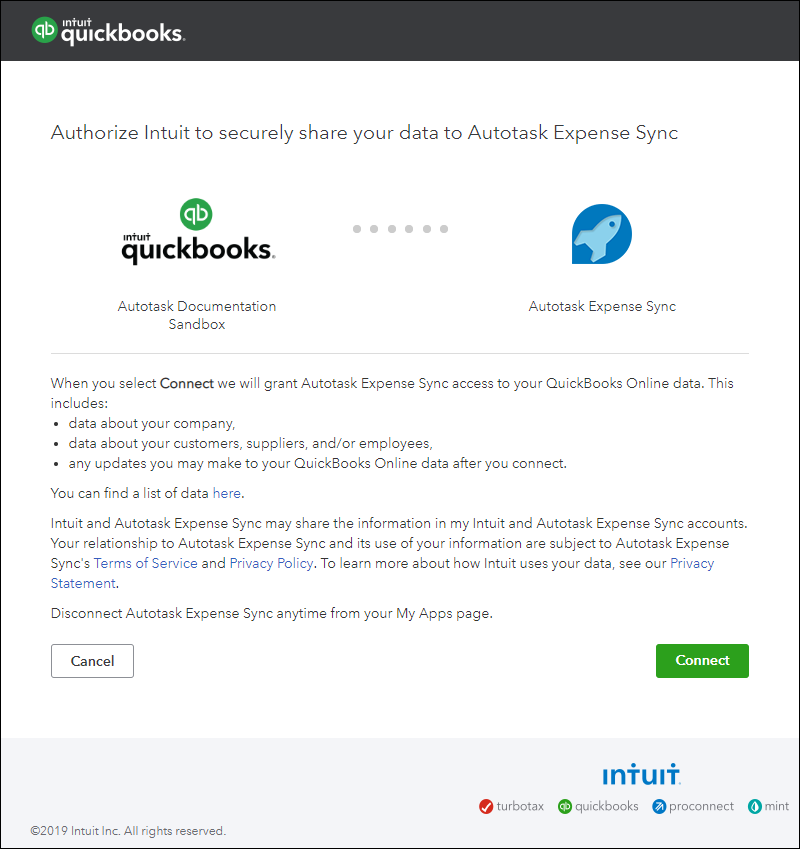
- When the integration opens in your browser, review the Authorization agreement and click Connect.
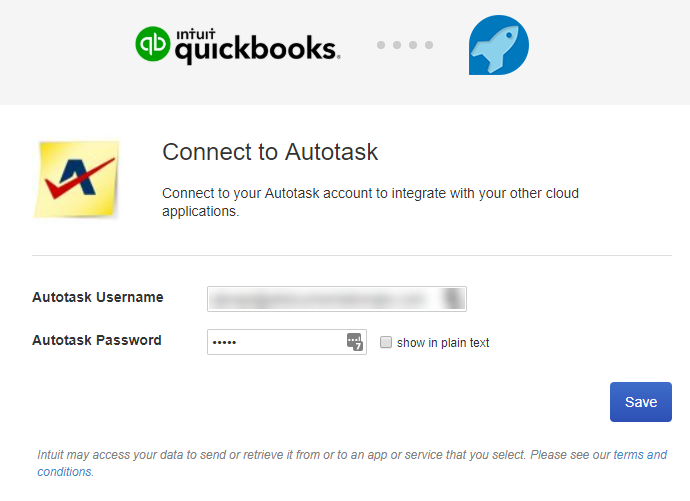
- Enter your Autotask credentials and click Save.
NOTE If the screen does not change after you click Save, refresh your browser window.
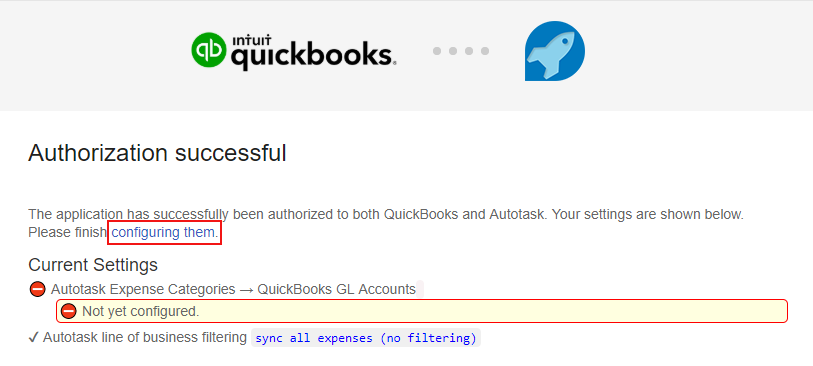
- When the "Authorization successful" announcement displays, after the text "Please finish", click configuring them.
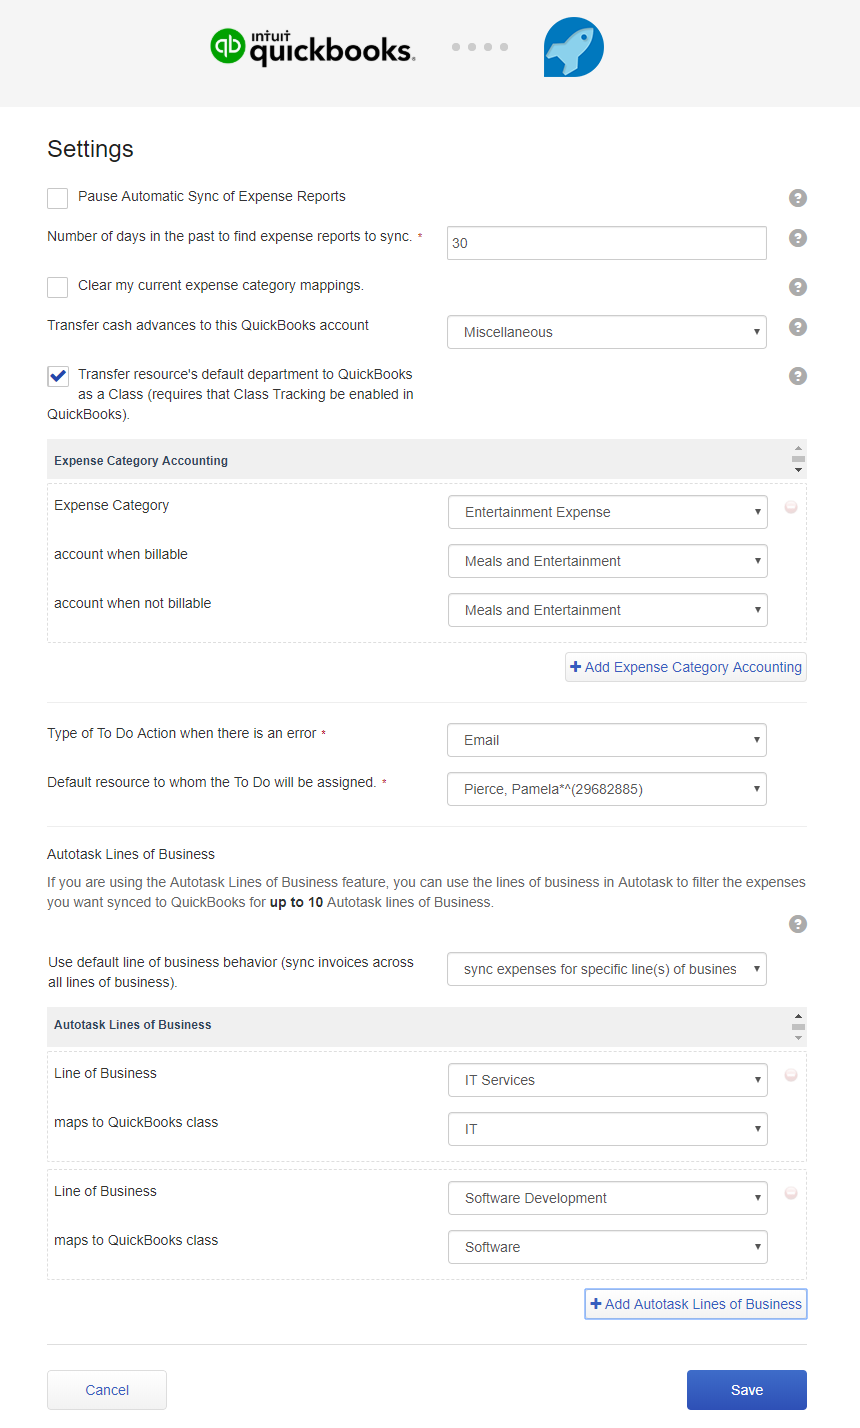
| Setting | Description |
|---|---|
| Pause automatic sync of Expense Reports | To temporarily stop the app from scanning for Expense Reports to transfer, click to select the check box. For example, you may want to stop scanning if you have multiple Expense Reports that you will transfer manually. To resume scanning, click to clear the check box. |
| Number of days in the past to find Expense Reports to sync | Enter the number of calendar days that QuickBooks Online should go into the past to retrieve approved but unsynced Expense Reports for transfer. The Default setting is 30 days. Expense reports with expense total = 0.00, or cash advance = 0.00, are not transferred. If you process 100 or more expense reports per month, we recommend limiting this setting to no more than 60 days. |
| Clear my current expense category mappings. | If needed, click to clear all current expense category mappings, then click Save. NOTE Autotask has two system expense categories, Mileage and Entertainment, that must be mapped even if you don't use them. When you clear all expense categories, an error message appears to remind you that when you remap, you must map the Mileage and Entertainment categories. |
| Transfer cash advances to this QuickBooks account | You must select one QuickBooks account to associate with all cash advances that appear on transferred Expense Reports. |
| Transfer resource's default department to QuickBooks as a class (requires that Class Tracking be enabled in QuickBooks). | Class Tracking must be enabled in QuickBooks Online.
To track the default Autotask Departments of the resources who submitted the synced expense reports, click to select the check box. The department appears for each line item on the bill, under "Class". To stop tracking the resources' default Autotask departments, click to clear the check box. In order to track an Autotask Department, a QuickBooks Online Class name must match the Department Number field of the Department in Autotask. For more details, refer to Track resource departments using QuickBooks Online classes. Class Tracking is a QuickBooks Online feature and is not supported by Autotask. For information, refer to QuickBooks Online documentation materials. |
| Expense Category Accounting, +Add Expense Category Accounting |
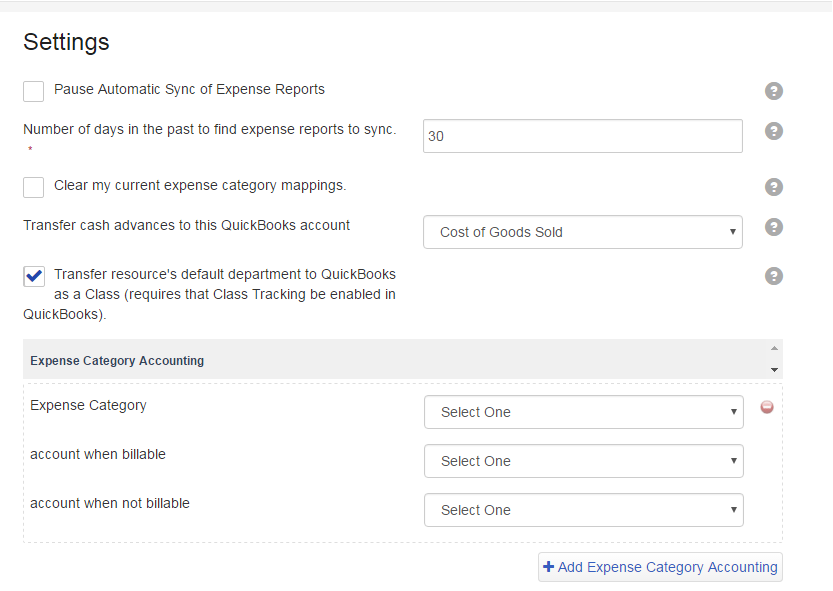
To assure that expenses are allocated to the correct accounts in QuickBooks Online, you must map each Autotask Expense Category to two GL accounts, one for when the expense is billable, one for when it is not. You can use the same account for both. Click +Add Expense Category Accounting to display the fields needed to map one Autotask Expense Category to two QuickBooks Online GL accounts. After mapping one expense category, click +Add Expense Category Accounting again to map another expense category. For details, refer to Map Autotask expense categories (expense category accounting). NOTE You must map all Autotask expense categories. If a transferred expense report includes an item associated with an unmapped expense category, a sync error will occur. |
|
|
|
| Type of To-Do Action to take when there is an error. (required) | If an error occurs, the app creates a to-do for your local organization. Autotask to-dos require an Action Type. From the menu, select which Action type the app should use. For information on to-do actions, refer to About action types. |
| Default resource to whom the error To-Dos will be assigned. (required) | Select the resource that will manage all Expense Transfer error to-dos. The to-dos created for the local organization will be assigned to that resource and appear in the Resource's My To-Dos list as well as local organization's To-Do list. |
| Autotask Lines of Business | |
|
Autotask Line Of Business Sync Behavior
|
If you use Lines of Business in Autotask, you can use them to filter which invoices get transferred to QuickBooks Online.
IMPORTANT If you don't use filtering, you cannot map lines of business to classes. TIP To re-map lines of business, select the default and save, then remap. This will reliably clear the previous mappings. |
|
Autotask Lines of Business
|
This section lets you map Autotask division:lines of business to QuickBooks Online classes. You can map multiple lines of business to the same QuickBooks Online class. Click +Add Autotask Lines of Business to display the fields needed to map an Autotask Line of Business to a QuickBooks Class. |
- Click Save to complete the configuration.
The integration will now connect and immediately begin scanning for eligible expense reports.
IMPORTANT Sync time depends on the Intuit AppConnect platform's level of activity and number of items to sync, and can take anywhere from 15 minutes to over an hour. Please give the integration time to complete the syncing and transfer before you check QuickBooks Online for Expense Report bills.
When the scan has completed, the next scan is automatically scheduled and added to the Intuit AppConnect queue. The next scan can begin in 15 minutes, but the actual start time and the length of time to complete the process depends on the Intuit AppConnect platform activity. When activity level is high, it can take over an hour to complete.
If Class Tracking is enabled in QuickBooks Online, then the Expense Transfer app can track the default departments of the Autotask resources who submitted the transferred expense reports. The Department name appears in the Class column on the bill in QuickBooks Online.
In order to do this, the QuickBooks Online Classes must map to Autotask Departments. The integration maps the QuickBooks class Name field to the Autotask Department Number field.
EXAMPLE For example, if the resource's default department is "Administration" then, in order to track that department, QuickBooks Online must have a Class named Administration; and, in Autotask, the Administration department's Department Number field must be set to Administration. Or, if your local organization already uses the Department Number field, you must set up QuickBooks Classes with names that match your Autotask department numbers. 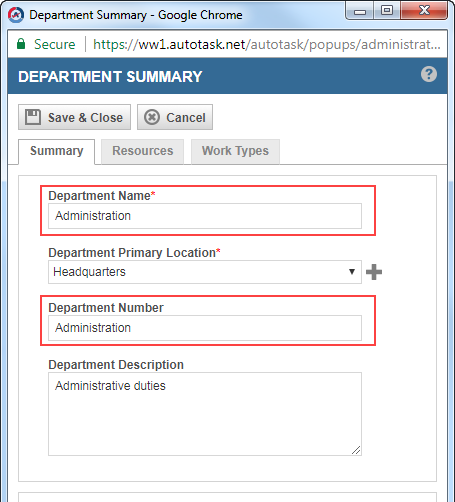
Departments are configured by Administrators in Autotask on the Departments tab of "Your Organization" (Left Navigation Menu > Admin > Admin Categories > Organization Settings & Users > Your Organization > Departments).
If an error should occur, it is recorded as a to-do under your local organization's Autotask account (organization ID 0). The to-do is assigned to the resource specified on the Settings page. It will appear in your local organizaton's To-Do list (Organization page > menu > To-Dos), and the My To-Dos list of the assigned resource (My > CRM > To-Dos). It will also be noted in the Expense to QuickBooks Online error logs.
For information on own local organization, refer to Your local organization in Autotask.
During the Autotask implementation, your local organization will set up Expense Categories to categorize items that are tracked as expenses. In Autotask, all expense items are assigned an expense category. Expense categories are configured in Autotask on the Expense Category page (Left Navigation Menu > Admin > Admin Categories > Features & Settings > Finance, Accounting & Invoicing > Billing Codes). Refer to Adding expense categories.
To allocate expense report line items to the correct QuickBooks Online GL accounts, you must map your Autotask Expense Categories to the QuickBooks Online GL accounts. You do this on the app's Settings page, under Expense Category Accounting.
NOTE You must map all Autotask expense categories. If a transferred expense report includes an item associated with an unmapped expense category, a sync error will occur.
- On the Expenses to QuickBooks app Settings page, click +Add Expense Category Accounting.
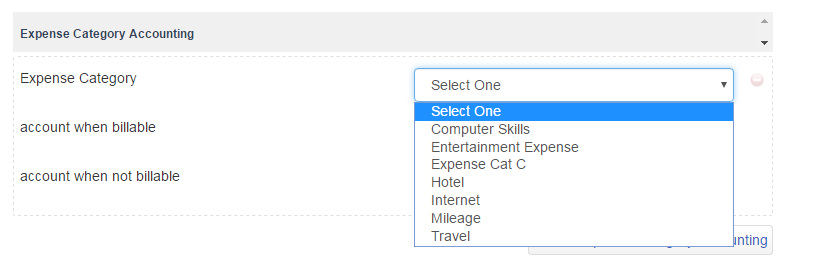
An expense category selection field and two additional selection fields are added to the Settings page below the Expense Category Accounting heading.
- From the Expense Category menu, select an Autotask Expense Category. The menu includes all active expense categories configured in Autotask.
- Select a QuickBooks Online GL Account for each of the two additional fields: "account when billable" and "account when not billable".
IMPORTANT You must select an account for each field. You can select the same account for both.
- To map the next Expense Category, click + Add Expense Category Accounting, and repeat steps 2 & 3.
- Repeat for each Autotask Expense Category.
TIP Each expense category can be mapped only once. If you map an expense category more than once, you cannot save your updates and an error message displays at the top of the page.
NOTE You must map the Autotask system Expense Categories, Mileage and Entertainment, even if you do not use them. You cannot Save your changes on the Settings page until you map those two categories.
- Click Save, or complete the remaining settings and then click Save.
For information on how to change an Expense Category mapping, refer to Change the expense category mappings.
If needed, you can return to the Settings page to adjust your integration settings at any time.
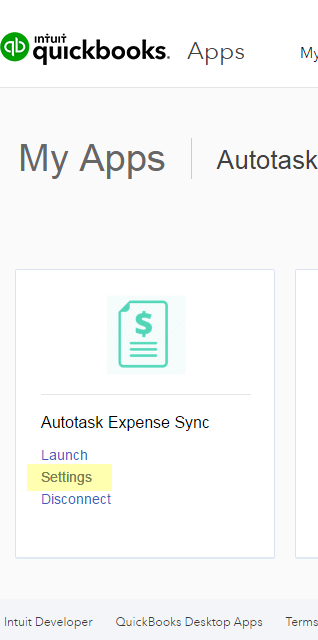
- In the top navigation bar of the integration application, click My Apps.
- Under Autotask Expense Sync, click Settings.
TIP Currently, the Launch link will also take you to the Settings page.
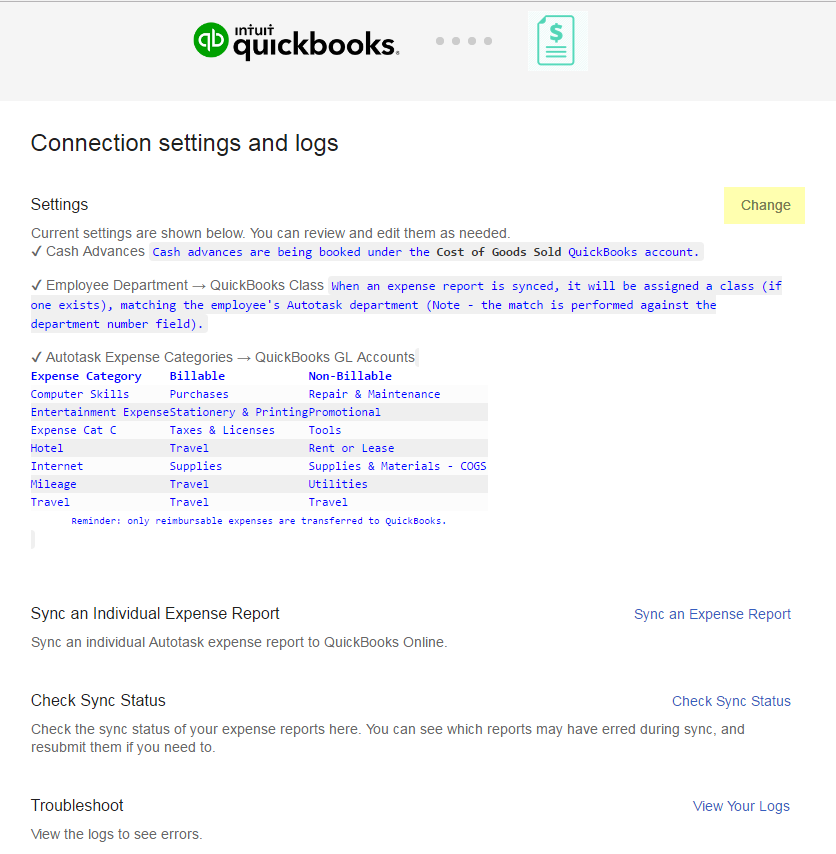
- On the Connection settings and logs page, review your settings.
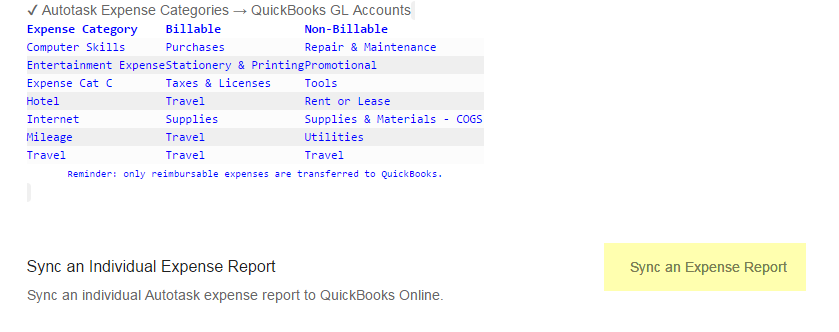
The Settings page displays your current settings. including a table that shows the two GL accounts selected for each Autotask Expense category.
TIP As best practice, make note of the current Expense Category mappings and other settings. You can then quickly remap the categories and configure the settings if you ever need to clear all of your category mappings, or disconnect the application, which also clears the expense category mappings.
NOTE If you inactivated any mapped expense categories since you completed the mapping, that category still appears on the Settings page. To remove the inactive expense category from the list, you must clear all expense categories and remap the active categories. Refer to Change the expense category mappings.
- If you need to change any settings, click Change. The settings page will open in edit mode.
TIP You do not need to click Change to use the features "Sync (transfer) an individual expense report", "Check sync status", and "Troubleshoot".
- Make changes as described below and in Configure settings, then click Save.
To change mappings for an individual expense category
The settings page does not display the existing Expense Category mappings when you click Change to put the page into edit mode. To change an expense category mapping, you must add the category again with the new mappings. When you save, the new mappings will overwrite the old. For information on how to add a category and mappings, refer to Map Autotask expense categories (expense category accounting).
TIP You can cannot remap an inactivated Expense Category to clear it from the Settings page. Inactive Expense Categories no longer appear in the Expense Category field menu. To clear the inactive Expense Category, you must clear all expense category mappings.
To clear and reset all expense category mappings
- Click to select the "Clear my expense category mappings" check box and then click Save.
NOTE Since Autotask requires that the system expense categories Mileage and Entertainment be mapped, you will get a message when you clear all expense category mappings to remind you that you must remap the two system expense categories even if you do not use them.
- Remap all expense categories and then click Save.
From the Connection settings and logs page, you can transfer individual expense reports at any time.
TIP If you will be manually transferring multiple individual expense reports, consider temporarily pausing the automatic sync: click Change on the "Connection settings and logs" page and then select the Pause Automatic Sync of Expense Reports check box.
- Access the Connection settings and logs page. Refer to Change the Expense Transfer app settings.
- Click the Sync an Expense Report link.
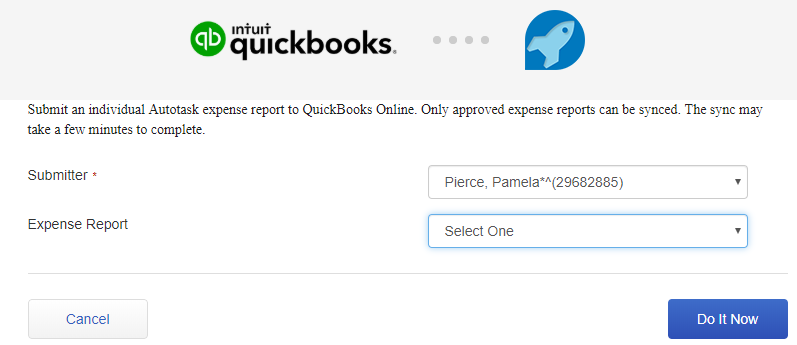
- From the Submitter menu, select the resource who submitted the expense report you want to transfer.
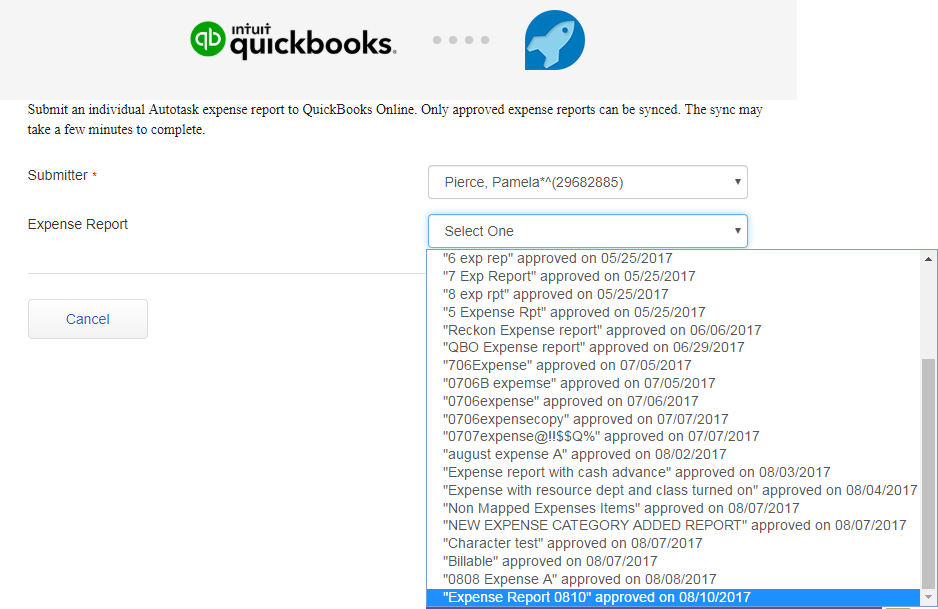
- From the Expense Report menu, select the expense report to transfer.
NOTE Expense reports with expense totals = 0, or cash advance amount = 0, are not transferred.
- Click Do It Now.
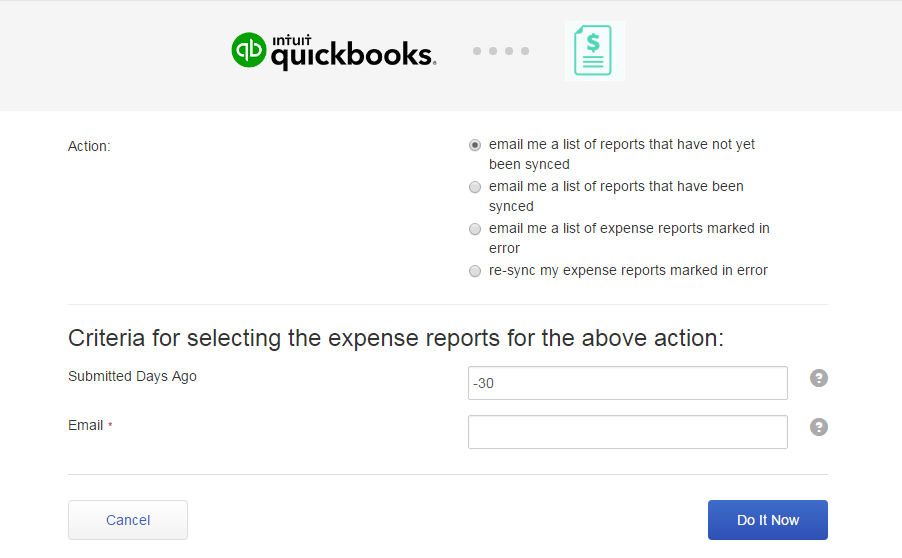
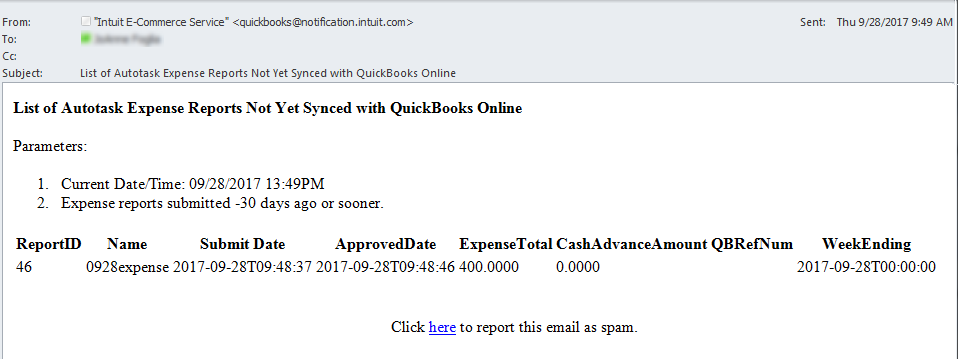
Use this feature to generate reports on the sync (transfer) status of expenses. Reports are sent to the email address that you specify. There are three report options:
- email me a list of reports that have not yet been synced
- email me a list of reports that have been synced
- email me a list of expense reports marked in error
And there is an option to re-sync expenses that generated an error during transfer:
- re-sync my expense reports marked in error
To check sync status or re-sync expenses.
- Access the Connection settings and logs page. Refer to Change the Expense Transfer app settings.
- Click the Check Sync Status link.
- Select the report you want to run, or select the re-sync option.
- Specify the number of days in the past that the report should look back to find submitted expense reports to include in the report (or to re-sync).
- Enter the email address where the report should be sent.
- Click Do It Now. The status report is emailed to the address provided.
If an error should occur while syncing, it is recorded in the error log.
TIP If you contact Kaseya Helpdesk, the Support Representative may ask you to access the error logs.
To view the error logs:
- Go to the Connections and settings page. Refer to Change the Expense Transfer app settings.
- At the bottom of the settings page, click Troubleshoot.
When an error occurs, a to-do is also created under your local organization's Autotask account (organization ID 0) and added to the My ToDos list of the assigned resource. Refer to What if an error occurs?.
