Creating a Kaseya mailbox in Incoming Email Processing
NAVIGATION Left Navigation Menu > Admin > Admin Categories > Features & Settings > Application-Wide (Shared) Features> Incoming Email Processor
Autotask includes an internal email parser that can automatically create Autotask tickets with information parsed from incoming Kaseya ticket notifications. This option becomes available when your Kaseya Extension is turned on.
- Allows you to configure which Kaseya notifications are sent to Incoming Email Processing to create tickets in Autotask.
- Compares device information (machinename) from an incoming alert to Autotask Devices, if the Kaseya Alert Handling is enabled and the incoming email contains a string formatted as "machinename.groupname.subgroupname". If a match is found, associates the Autotask ticket with the matching Device.
- If the device information does not match to a Device, attempts to match the Kaseya organization information (groupname.subgroupname) to an organization in Autotask.
- If the Kaseya organization information does not match to an Autotask Organization, assigns the ticket to your local organization.
- When the Autotask ticket is set to complete, automatically closes the corresponding Kaseya ticket.
TIP Autotask stores Kaseya “machinename” information in the Device User-Defined Field “Kaseya Device ID”, and stores Kaseya “groupname and subgroupname” information in the Organization User-Defined Field “Kaseya Customer ID”. Refer to Kaseya User-Defined Fields.
Without licensing advanced Incoming Email Processing, you get one free custom mailbox that can be used to create Autotask tickets from Kaseya ticket notifications.
If you license advanced Incoming Email Processing, you can configure additional custom mailboxes in Autotask and configure Kaseya to send different types of ticket notifications to the different mailboxes.
TIP The advanced version of Incoming Email Processing will give you more flexibility with configuring your Kaseya integration. Please contact Datto Sales for a quote.
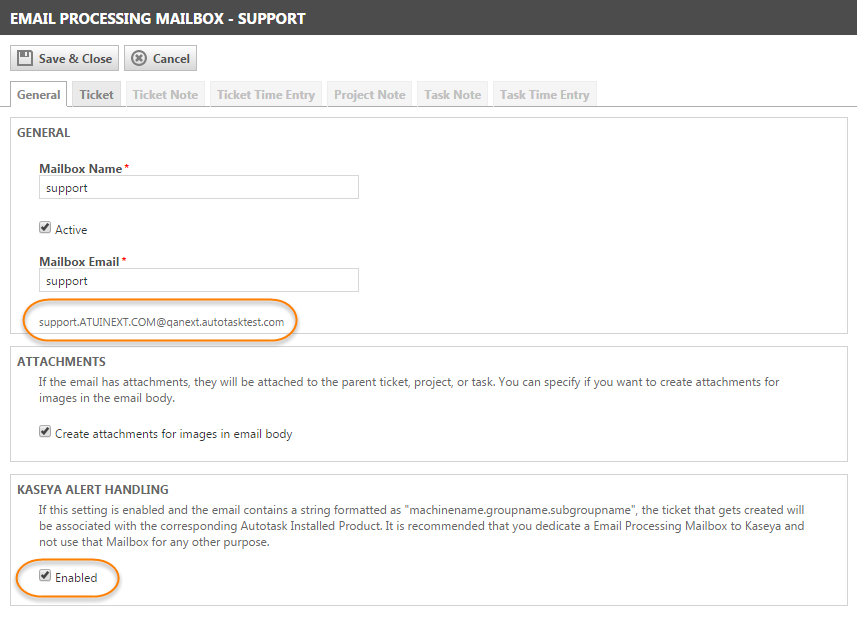
To enable Kaseya alert handling, check the box on the General tab of the email processing mailbox. The address you need to use for the Kaseya configuration will appear below the Mailbox Email field.
For information on configuring a Kaseya mailbox, refer to Configuring a custom mailbox.


