The To-Dos tab
PERMISSIONS Security level with access to CRM, and Edit All or Edit Mine permission for associated organization.
NAVIGATION Left Navigation Menu > CRM > Search > Organizations > click Search > click an organization name > accessory tabs > To-Dos
NAVIGATION Left Navigation Menu > CRM > Search > Opportunities > click an opportunity name > accessory tabs > To-Dos
NAVIGATION Left Navigation Menu > CRM > Search > Contacts > Contact (Last Name) or Contact (First Name) or Contact (Email) > click a contact > To-Dos
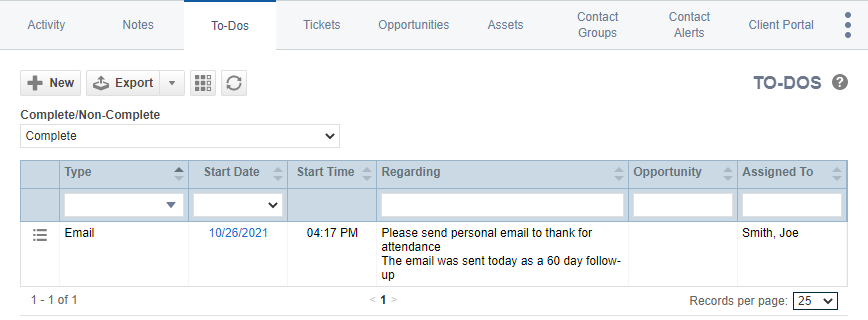
The To-Dos tab appears on the accessory tabs of the Organization, Contact, and Opportunity pages, and lists all to-dos associated with the organization, contact, or opportunity.
NOTE To-dos are also displayed on the Activity tab, but on the separate tab, they can be managed more efficiently.
The tab has the following features:
The following tool buttons appear above the table:
| Tool Button | Description | ||||||
|---|---|---|---|---|---|---|---|
|
|
Many Search pages (but not the widget drill-down tables) allow you to create a new instance of the selected entity. This button is visible before you execute a search:
For help with populating the fields, refer to the context-sensitive Help of the page that opens. |
||||||
|
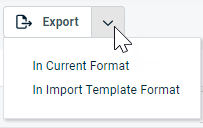
PERMISSIONS By default, Export is available to users with Admin security level, and disabled for all others. It can be enabled for other security levels. Refer to Can export Grid Data. NOTE When exporting to CSV: To ensure consistent date/time formatting in the CSV output, we strongly recommend that the user’s date/time format settings in Autotask be identical to the Windows date/time format settings of the computer performing the export. This will prevent conflicts in how the software that generates the report interprets the date/time format. IMPORTANT Fields related to billing products for devices and contacts will not be exported.
NOTE Only the first 5,000 records will be exported. |
|||||||
|
|
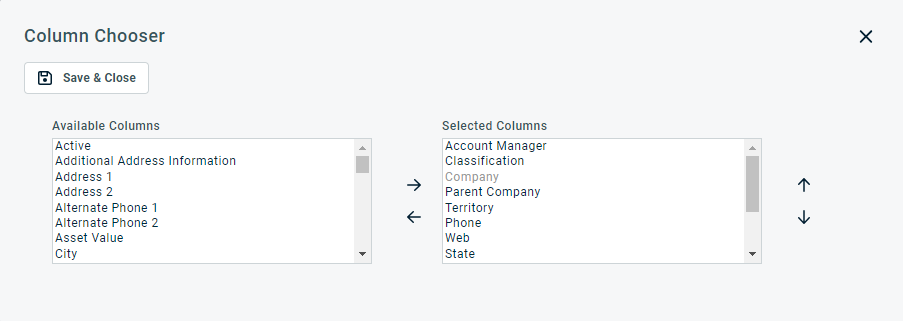
The Column Chooser allows you to customize search results tables throughout Autotask. It determines the following:
NOTE Column Chooser settings on search results tables and some standard reports are part of the user settings stored on the Autotask server. You can log in from any computer and have your column chooser settings applied to your Autotask session. To clear the data stored in your Autotask instance and reset the column chooser settings to the Autotask default settings, click Reset Settings in My > Miscellaneous > Settings. To customize the table, do the following:
Columns appear either in the Available Columns or the Selected Columns panel.
NOTE Top-to-bottom order in the Selected Columns list becomes left-to-right order on the Search Results list.
TIP If the characters + # appear after the column name, then that column may have multiple items returned for some rows. If that occurs, the first item will appear in the row followed by + and the number of additional items returned. To display the list of additional items, hover over the item in the column. |
||||||
|
Click the refresh icon |
Features differ slightly between the Opportunity, Organization, and Contact pages.
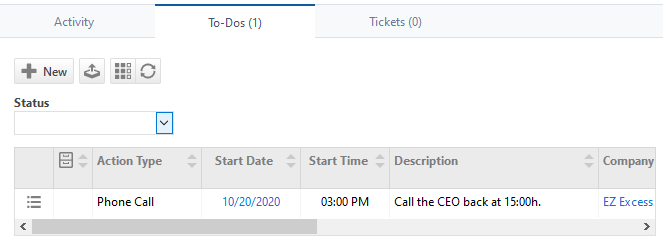
- On the Opportunity page, you filter the list by Status and select Complete or Non-Complete:
- On the Organization and Contact pages, the field is called Complete/Non-Complete:
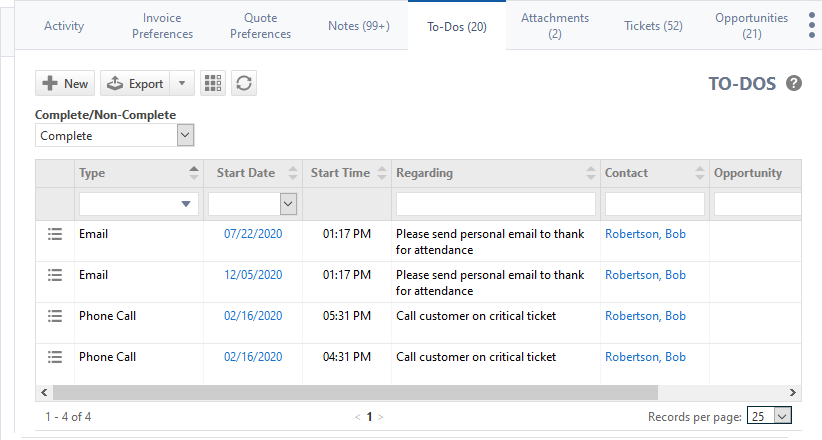
This page also features a Quick Filter row. Refer to Shared accessory tab features.
Menu options are the same on all three pages:
| Menu Option | Description |
|---|---|
| General | |
| View To-Do | Opens the View To-Do page. Refer to Viewing a to-do. |
| Edit To-Do | Opens the Edit To-Do window to edit all fields. Refer to Adding and managing to-dos. NOTE This option is only available on the Dispatch Calendar if the dispatcher has CRM module access and the Autotask system setting that enables Edit To-Dos in Dispatch Calendar is turned on. |
| Complete To-Do (for Non-complete To-Dos only) | Performs the following actions on the to-do: Assigns a complete date to the to-do; updates the status to Complete; and creates a complete to-do note on the CRM Notes and My Notes pages as well as in the Notes tab of the Organization, Contact, Sales Order, and Opportunity pages. NOTE When you select Complete To-Do, the action is executed immediately without confirmation. You cannot enter a completion note. If you would like to enter a note, use Edit To-Do. |
| Set Scheduled (for Complete To-Dos only) | Changes the completed to-do to non-complete and removes the complete date and completed status. Changes appear in all to-do lists. Any CRM notes created when the to-do was completed, for example, in CRM detail views or CRM Note lists, is removed. If you selected Set Scheduled from a CRM Notes table, the page will refresh and the note will be gone. If you select Set Scheduled from a to-do list or the Ticket page under Service Calls and To-Dos, the to-do (note) is changed to non-complete and remains in the list. NOTE When you select Set Scheduled, the change takes place immediately without confirmation. |
| Delete To-Do |
Opens a message to confirm the deletion ("Are you sure?"). Click OK to delete the to-do. Deletion cannot be undone. |
| View | |
| Organization | Opens the Organization page. Refer to The Organization page. This option is not available on the organization To-Dos tab. NOTE On the Dispatch Calendar, this option is available only if the dispatcher has the required CRM object permissions. |
| Opportunity | Opens the opportunity associated with the to-do. This option is only available if the to-do is associated with an opportunity. NOTE On the Dispatch Calendar, this option is not available. |
| LiveLinks | |
| LiveLinks | Refer to LiveLinks for more information. |
