The Opportunities tab
PERMISSIONS Security level with access to CRM, and Edit All or Edit Mine permission for associated organization.
NAVIGATION Left Navigation Menu > CRM > Search > Organizations > click Search > click an organization name > accessory tabs > Opportunities
NAVIGATION Left Navigation Menu > CRM > Search > Organizations > click Search > click an organization name > accessory tabs > Contacts > click a contact > Opportunities
NAVIGATION Left Navigation Menu > CRM > Search > Contacts > Contact (Last Name) or Contact (First Name) or Contact (Email) > click a contact > Opportunities
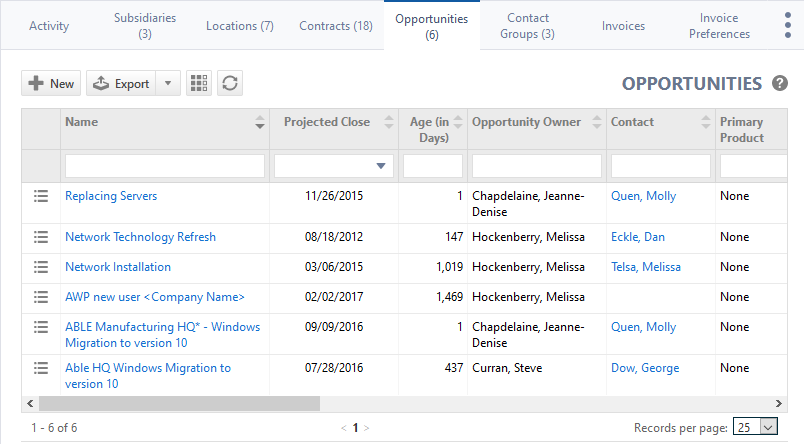
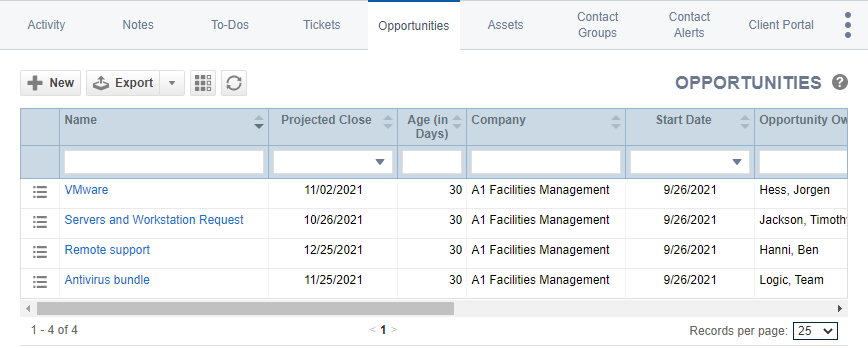
The Opportunities tab appears on the accessory tabs of the Organization and Contact pages. On this tab, you can view and manage existing opportunities for the organization or contact, and create new ones. To open the page, use the path(s) in the Security and navigation section above.
The following tool buttons appear above the results list:
| Tool Button | Description | ||||||
|---|---|---|---|---|---|---|---|
|
|
Many Search pages (but not the widget drill-down tables) allow you to create a new instance of the selected entity. This button is visible before you execute a search:
For help with populating the fields, refer to the context-sensitive Help of the page that opens. |
||||||
|
|
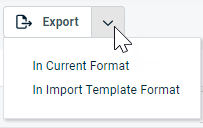
PERMISSIONS By default, Export is available to users with Admin security level, and disabled for all others. It can be enabled for other security levels. Refer to Can export Grid Data. NOTE When exporting to CSV: To ensure consistent date/time formatting in the CSV output, we strongly recommend that the user’s date/time format settings in Autotask be identical to the Windows date/time format settings of the computer performing the export. This will prevent conflicts in how the software that generates the report interprets the date/time format. IMPORTANT Fields related to billing products for devices and contacts will not be exported.
NOTE Only the first 5,000 records will be exported. |
||||||
|
|
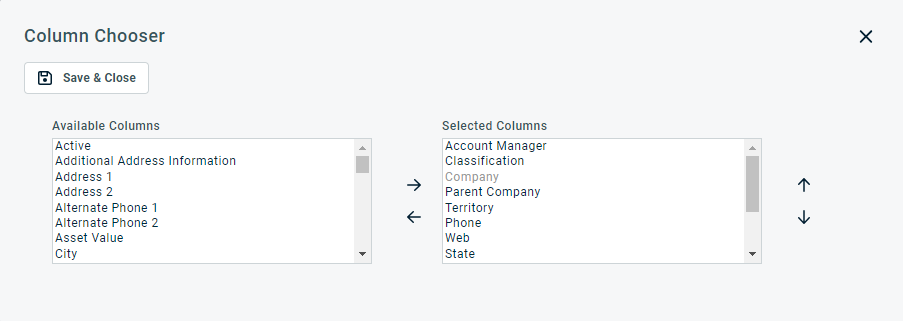
The Column Chooser allows you to customize search results tables throughout Autotask. It determines the following:
NOTE Column Chooser settings on search results tables and some standard reports are part of the user settings stored on the Autotask server. You can log in from any computer and have your column chooser settings applied to your Autotask session. To clear the data stored in your Autotask instance and reset the column chooser settings to the Autotask default settings, click Reset Settings in My > Miscellaneous > Settings. To customize the table, do the following:
Columns appear either in the Available Columns or the Selected Columns panel.
NOTE Top-to-bottom order in the Selected Columns list becomes left-to-right order on the Search Results list.
TIP If the characters + # appear after the column name, then that column may have multiple items returned for some rows. If that occurs, the first item will appear in the row followed by + and the number of additional items returned. To display the list of additional items, hover over the item in the column. Using the column chooser, you are able to display two columns that don't show up on the Device page:
Both fields are available as filters on device widgets, and for the date field, the usual date grouping options are available. For a list of events that count as Last Activity on a device, refer to On a device. |
||||||
|
|
Click the refresh icon |
Hover on the context menu to make a selection. The available options depend on your security level, and which opportunity table you are viewing.
NOTE All quote-related columns display data from the primary quote. If there are additional quotes, quote data is followed by "(+#)".
| Menu Option | Description |
|---|---|
| View | |
| Opportunity | Opens the Opportunity page. Refer to The Opportunity page. |
| Opportunity History | Opens the Opportunity History page. Refer to Opportunity history. |
| Organization (Opportunity Search page and Contacts page) | Opens the Organization page. Refer to The Organization page. |
| Primary Quote | Opens the primary quote in the format used when a quote is published. Refer to Viewing or previewing a quote. If there are multiple quotes associated with the opportunity, the Quote Name is followed by "(+ # other quotes)". |
| General | |
| Edit Opportunity | Opens the Edit Opportunity window to edit all opportunity fields. If the CRM system setting named Enable editable opportunity table is enabled, you can edit and save the Opportunity Projected Close Date, Amount, and all five Advanced Fields (tracking sub-revenue streams) directly in the table without having to edit each opportunity individually. Refer to Adding and editing opportunities and CRM system settings for more information. |
| Won Opportunity | Refer to Closing opportunities you have won for more information. |
| Lost Opportunity | Refer to Setting an opportunity as lost for more information. |
| Other | |
| Reassign Lead | Refer to Reassigning opportunities for more information. |
|
New Quote |
If the opportunity is not associated with a quote, the New Quote page will open. If the Kaseya Quote Manager (formerly Datto Commerce) integration and the Quoting Prompt feature are enabled, you can select which quoting tool you want to use. Refer to Selecting a quoting tool. |
| Edit Primary Quote (if a quote exists) | Opens the Edit Quote page of the primary quote. From here you can edit all quote information with the exception of the Organization Name and Opportunity Name. For detail, refer to Adding or editing an Autotask quote. |
| View/Edit (Primary) Quote Items | Opens the Quote Detail page of the primary quote if the quote exists. Refer to The Quote (Quote Item) page. |
| Delete Opportunity | Opens a confirmation dialog box ("Are you sure?"). Click OK to delete the opportunity. The opportunity and all system notes are deleted, but user-entered notes remain associated with the organization. Deletion privileges are assigned at the security level. NOTE An Opportunity associated with a procurement sales order cannot be deleted. |
| Copy to Clipboard | |
|
Opportunity ID & Name Opportunity ID Opportunity URL |
Copy the selected opportunity fields to the clipboard. Note that the Opportunity URL refers to the link to the Opportunity record in Autotask. |
|
LiveLinks |
|
| LiveLinks | Provides a list of all Opportunity LiveLinks published to the user. Click a LiveLink to launch it. Refer to LiveLinks. |


