The Rich Text editor
About the Rich Text editor
Autotask features a Rich Text editor that lets you create formatted text and embed inline images for certain data entry fields. Common keyboard shortcuts (Ctrl-...) are also supported.
NOTE A number of other pages feature a different editor, the HTML editor. Refer to The HTML editor.
The basic version of the Rich Text editor is available for the following fields:
- Device Description. Refer to Device field descriptions.
- Opportunity Description. Refer to Description.
- Task Description. Refer to Task fields, main panel.
- Ticket Description and Ticket Resolution. Refer to Ticket page elements and field descriptions.
- Task, ticket, and regular time entry Summary Notes and Internal Notes. Refer to Adding a ticket time entry, Entering Regular Time, and Adding and editing time on a task.
- Task and ticket Notes. Refer to Adding a note to a task or ticket.
- Project Note Description. Refer to Adding or editing project or project phase notes.
Refer to Using the basic Rich Text Editor.
An enhanced version of the Rich Text editor with additional formatting tools is available for the Content section of
- Knowledge Base articles
- Documents
Refer to Using the enhanced Rich Text editor.
NOTE Rich Text in fields updated by Autotask LiveMobile, the Autotask API, and the data importers is replaced with plain text.
Autotask will always store a plain text version of the field content along with a Rich Text version. In areas of Autotask that do not support Rich Text, such as invoices, ticket lists, and tables, a plain text version of the content will appear.
NOTE The Rich Text view is not supported for notes in entity activity tabs when the text is greater than 2,100 characters. In that case, a truncated plain text version of the note initially appears, but the Rich Text version can be seen by clicking on the show more... link at the bottom of the text.
Plain text does not include images. Inline images in Description or Resolution fields will convert to attachments except in the case of Forwarded Tickets. In all other cases, images are lost.
Using the Rich Text editor
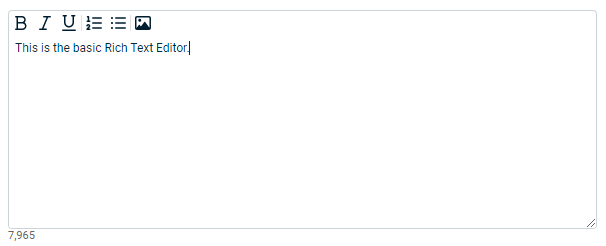
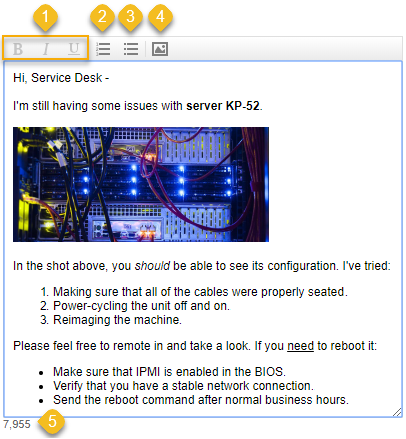
On pages and in fields where the basic Rich Text editor is used, the following tools are available:
In the Content section of Knowledge Base articles and documents, the following tools are available:
| Editing Tools | Description |
|---|---|
|
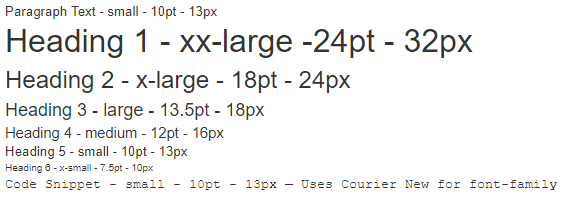
Style selector (Paragraph) |
Select the style you want to apply to the text. The font and font size of each style is predefined. |
| Text Formatting (Bold, Italics, Underline) | Select text or variables and click the formatting icon to apply bold (b), italic (i ), or underlined (u) text formatting. You can use keyboard shortcuts (Ctrl + B, Ctrl + I, and Ctrl + U) to apply the formatting. |
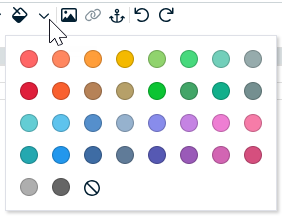
| Text Color and Background Color |
Select text or variables and click the Text Color or Background Color icon. To delete text or background color, click the Delete Color |
| Alignment (Left, Center, Right) | Select a line and click an alignment icon. |
| Numbered and Bulleted List | Click to insert a numbered or bulleted list. |
| Outdent/Indent | Place your cursor on a line of text and click the icon to move the entire line left or right to the next tab stop. |
|
Insert table |
Opens a dialog box that will create a table at the cursor point using the specified number of columns and rows. You can choose to include table headers. Refer to Managing table properties. |
|
Cell background color |
This tool is enabled if you put your cursor into a table cell. To remove a cell background color, click the No Color icon. |
| Insert Image |
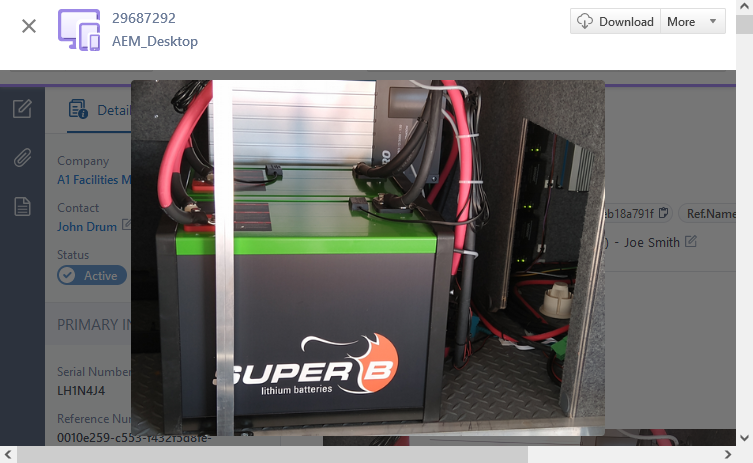
Inserts an inline image of .jpg, .jpeg, .gif (animation is not supported), or .png format. You can also use copy and paste or drag and drop to insert images. The Rich Text editor supports images up to 10 MB. There is no limit on image dimensions, but large images will be re-sized to fit in the space allowed. In View mode, when a user hovers over an inline image, the cursor will become a magnifying glass. Clicking on the image will open it in a separate overlay window in its original size, or the largest size that will fit the window. The image viewer header will contain the icon and title of the parent entity, and the image ID. Click the X or anywhere outside the image to close the enlarged image. |
|
Insert Link |
Select some text and click the Link |
|
Insert anchor |
Put your cursor anywhere in the content area and click the anchor |
| Undo/Redo | Click to undo and re-do an action or series of actions. |
You manage the properties of tables you add to the content section from the table![]() menu. In addition to the adding and removal of rows and columns, the following options are available when you click in a cell or select multiple cells:
menu. In addition to the adding and removal of rows and columns, the following options are available when you click in a cell or select multiple cells:
| Option | Description |
|---|---|
| Adjust Table Properties | Allows you to specify the number of rows and columns, and whether the table will have a header row. |
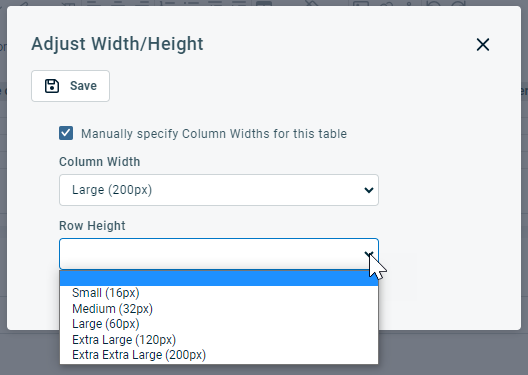
| Adjust Width/Height | This option lets you select between several preset column widths and row heights. |
| Delete Table | Select this option to delete the entire table. |
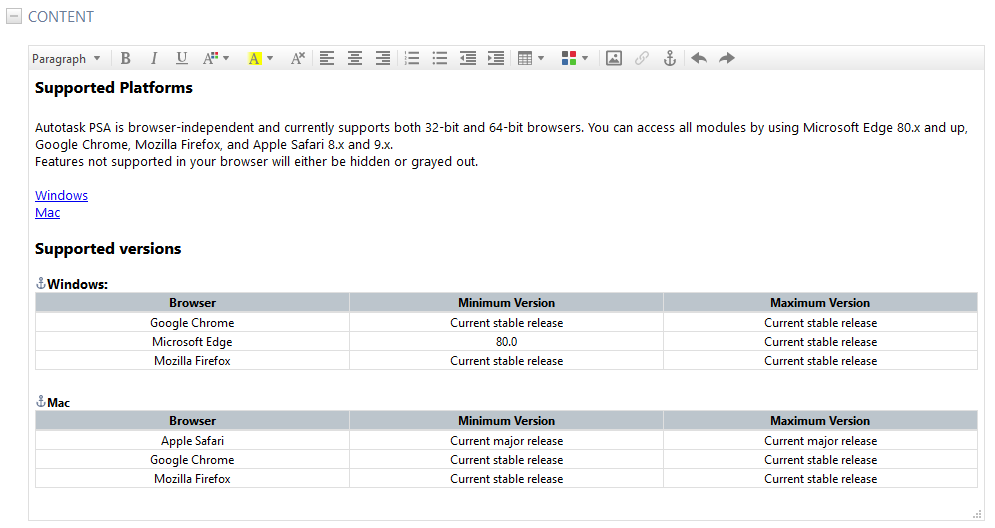
While links allow you to link from a Knowledge Base article or document to external content, anchors allow you to link to a location inside the Knowledge Base article or document.
EXAMPLE This is convenient when dealing with a long, complex article or document. You can create a table of contents at the top of the document, and then use anchor points to link to specific locations in the document.
Creating an anchor
To create an anchor, do the following:
- Put your cursor where you want to place the anchor.
- Click the anchor
 icon. A dialog box will open.
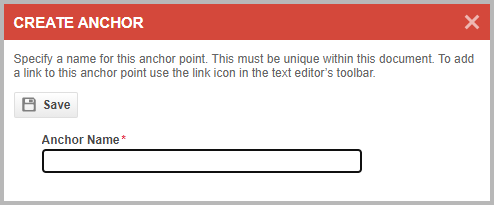
- Enter a name for the anchor and click Save.
Linking to an anchor point
To create a link to an anchor point, do the following:
- Highlight the text to link from, such as a table of contents item.
- Click the Link
 icon. A dialog box will open.
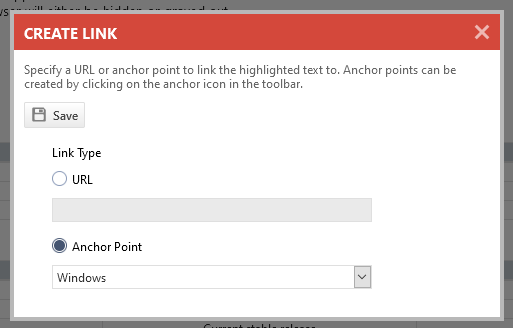
- Click the Anchor Point radio button.
- Select the name of the anchor to link to and click Save.
In edit mode, the article or document will look like this:
Anchors will not be visible once the article or document is saved. When you click the link, the anchor point is moved to the top of the content window.
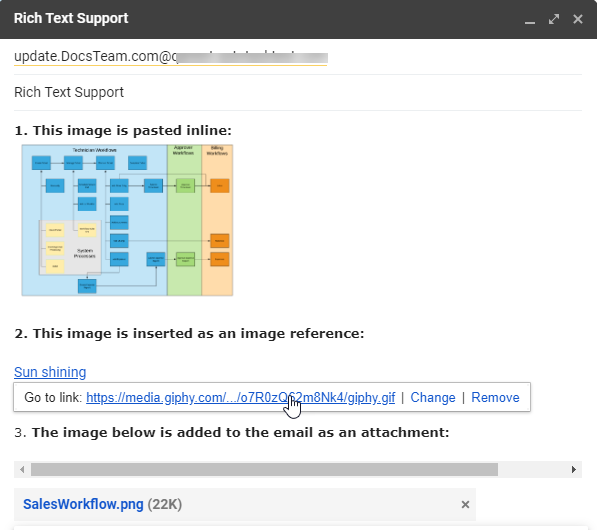
Incoming email processing supports basic Rich Text and images.
If there is a *** Please enter replies above this line *** in the email indicating that only content above that line should be used as the note or time entry summary note, content entered above that line will be plain text only and email indicators will be stripped out. If that line does not exist AND the email is in HTML format AND the length of HTML characters is < 38,400, the entire email is added as a Rich Text note and email indicators are retained. If the email is not Rich Text to start with, then it will stay plain text.
IMPORTANT Inline images in emails that were converted to tickets will remain inline. Images attached to converted emails will become available on the ticket's Activity tab. Links to external images will not be converted.
Refer to Incoming email processing.
