PERMISSIONS Security level with permission to view knowledge base articles and documents
NAVIGATION Left Navigation Menu > Home > Search > Knowledgebase Articles
NAVIGATION Left Navigation Menu > Home > View > Documentation Manager
NAVIGATION Left Navigation Menu > CRM > Organization page and Organization Dashboard page > click Documentation Manager
To open the page, use the path(s) in the Security and navigation section above.
Viewing articles and documents in dialogs and browser pages
Articles and documents are initially opened in a large dialog box.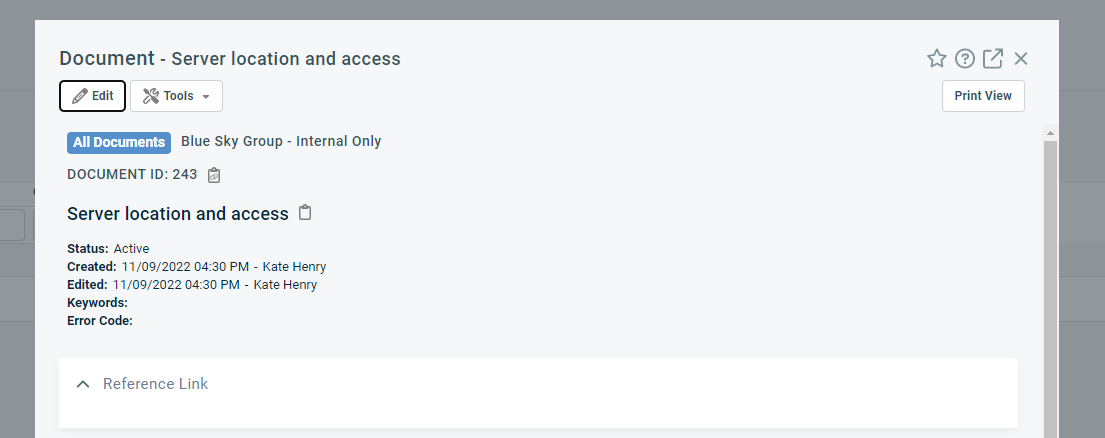
When you click the Open in New Window![]() icon, the dialog box is closed, and the same content opens in a new browser window.
icon, the dialog box is closed, and the same content opens in a new browser window.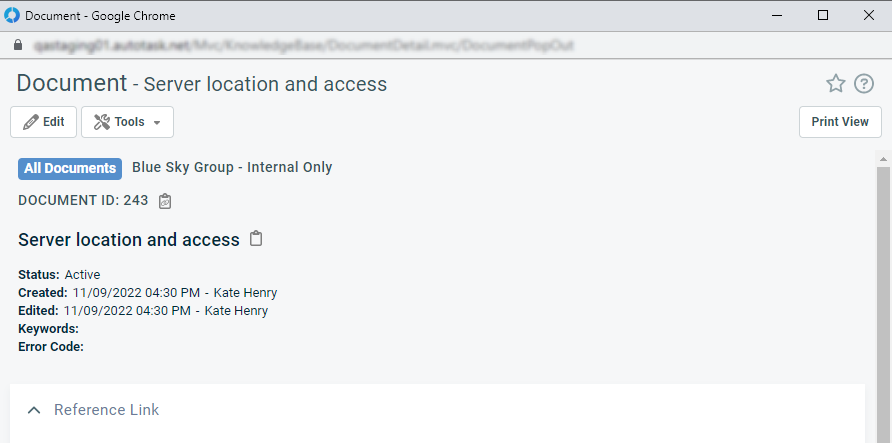
Buttons and tools are the same in both views.
Window Title
In View mode, the window title bar identifies the type of content item, followed by the title of the item.
Task bar
| Button | Description |
|---|---|
|
Edit |
Puts the item into Edit mode. This button appears only for users with Edit privileges. Refer to Knowledge Base and Documents security settings. |
|
Relate Ticket |
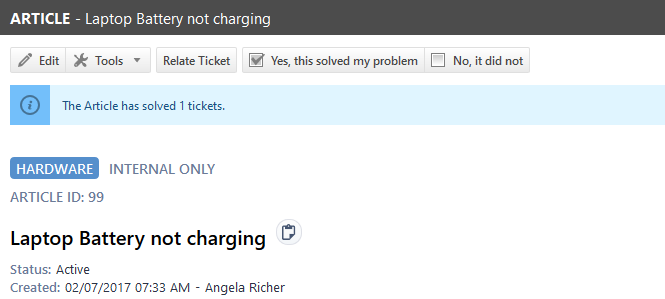
If you opened the article from the Suggested Solutions page and if the article was indeed a solution for the ticket, you have the option to relate the ticket to the article. Refer to Finding a solution from a ticket. |
|
These two buttons appear only if the article is accessed from a ticket. Refer to Knowledge Base.
If an article is voted to be helpful, a banner will be displayed, and the ticket will become related to the article (if it is not already related). |
|
|
Print View |
Opens a customizable print view of the document. Refer to Printing an article or document. |
|
Tools menu |
|
|
Copy |
Makes a Copy of the content item. This button is only enabled for users with permission to add articles or documents. Refer to Knowledge Base and Documents security settings. |
|
Article Version History or Document Version History |
Opens the Version History page. Refer to Managing article and document versions. This option is disabled if the item Content field contains legacy HTML content. Refer to Updating legacy HTML formatting in the Content field. |
|
Article History or Document History |
Opens the Article History or Document History page. Entity history pages track changes to specific fields. Refer to Article history and document history. |
|
Convert to Document (article only) |
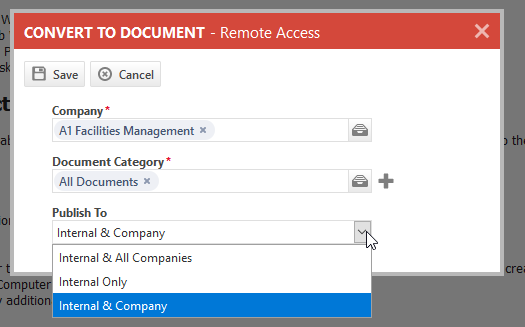
This option is available if Document Management is enabled and you have permission to add a document. When selected, the Convert to Document dialog box opens.
NOTE Global articles cannot be converted to documents, and this option is hidden. |
|
Convert to Article (document only) |
This option is available if Knowledge Base is enabled and you have permission to add an article. When selected, the Convert to Article dialog box opens.
|
Header
For a description of most header fields, refer to Adding and editing Knowledge Base articles and Adding and editing documents. The following additional system fields appear:
| Field | Description |
|---|---|
|
Article ID or Document ID |
An immutable, system-generated unique identifier for the content. |
|
Created |
The date and time the item was created and the resource who created it. This field is view-only. |
|
Edited |
The date and time the item was last edited and the resource who edited it. This field is view-only. |
|
Copy icon |
Copies the ID and title of the content item to your clipboard. |
Collapsible sections
The content appears in Rich Text, including any images. This section is always expanded when the article or document is opened.
If the Website/URL field was populated, a hyperlink to the external content is displayed. When you click the link, a message will let you know that you are leaving Autotask. Select Do not show me this message again to turn this warning off.
If the content item contains a checklist template, any checklist items appear in locked mode.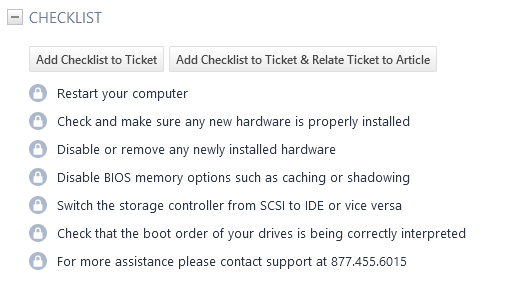
To edit the checklist, the article or document must be in Edit mode.
To copy the content item checklist to a ticket, do the following:
- Click Add Checklist to Ticket or Add Checklist to Ticket & Relate Ticket to Article or Document. If the content item was opened from a ticket, the ticket number appears above the buttons. If the content item was opened from a location other than a ticket, a dialog window will open.
- In the single-item selector, enter a ticket number or click the selector icon
 to open the ticket selector.
 - Click Apply to Ticket.
NOTE If the ticket already contains a checklist and adding the content item checklist would result in more than 40 checklist items, you will not be able to add the checklist.
This section is always expanded when the article or document is opened. Any tags that were already associated with the content item appear in alphabetical order. Click Group Tags to order the tags by tag group, then tag name.
All users can add tags to a content item. The limit is 30 tags. Tags are associated immediately, and you do not have to be in Edit mode to add one. Simply start typing in the Add a tag... field.
For general information on tags, refer to Working with tags on a ticket.
For information on how tags can help solve a ticket, refer to Searching the knowledge base by tag.
Document and Knowledge Base article accessory tabs
Articles and documents have two accessory tabs, Activity, and Attachments. For more information, refer to:

